

Pet Rehoming
Here is a great page from Adopt-A-Pet.com on how to find a new home for your pet: https://www.adoptapet.com/blog/how-can-i-find-a-new-home-for-my-pet/
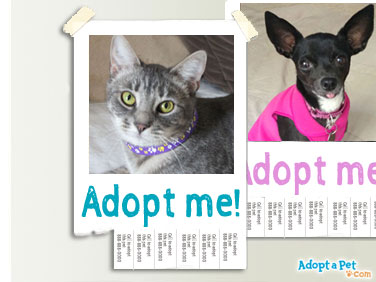
You can also set up a pet profile on Adopt-A-Pet.com to help find your pet a new home. They have the largest non-profit pet adoption website. It is a simple, reliable, and free program to help you place your pet from your loving home directly to another. To find out more information about it, go to: https://rehome.adoptapet.com/how-it-works
For more information on how the Humane Society of Sedona can help go to: https://humanesocietyofsedona.org/shelter/owner-surrenders/
Pets and Plants
This list from the ASPCA contains plants that have been reported as having systemic effects on animals and/or intense effects on the gastrointestinal tract.
Top 10 Deadliest Pet Toxins
Make sure you also read this list from the ASPCA about these little known substances that would result in a terrible outcome for your pet.

Wildlife
If you encounter a sick, injured, or orphaned wild animal, the webpage link below will help guide you.
Arizona Game & Fish 602-942-3000
Flagstaff Office 928-774-5045
Neglect or Abuse
If you observe or suspect animal neglect or abuse, please contact animal control for your area immediately so they can investigate.
City of Sedona Animal Control 928-282-3100
Yavapai County Animal Control 928-771-3282
Coconino County Animal Control 928-679-8756

Pet Loss and Grief
“For one species to mourn the death of another is a noble thing.”
Aldo Leopold
Best Friends Animal Society offers a number of resources to help you cope if you are grieving the loss of a pet.
Disaster Preparation
Emergencies come in many forms, and they may require anything from a brief absence from your home to permanent evacuation. Each type of disaster requires different measures to keep your pets safe, so the best thing you can do for yourself and your pets is to be prepared. The ASPCA American Society for the Prevention of Cruelty to Animals offers simple steps you can follow now to make sure you’re ready before the next disaster.

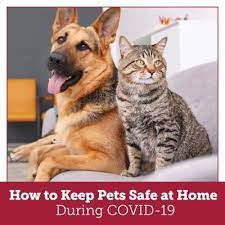
Covid-19 and Pets
You have probably seen and heard a lot about the coronavirus (COVID-19) and how to keep you and your family safe. But what about the other, furrier members of the family—your pets? The U.S. Food and Drug Administration offers some questions and answers to help keep you, your family, and your pets safe during the pandemic.
Online Pet Care
It can be stressful and upsetting when a pet is sick or injured, especially during non-business hours. While emergency vets are available, they can be expensive and inconvenient.
Online Doctor reviewed several online pet care and veterinary services to recommend the best of the best, for you and your furry companions.

Seniors and Pets
There are numerous reasons for adopting a pet. From companionship to security, pets can provide seniors a better quality of life and improve aging in place. Finding the right pet for you or your family member is easy, and the benefits can be far-reaching. Aging In Place has a guide that will help you decide on the best choice for you.
Attached is a guide that carefully examines the benefits and risks of owning a pet in assisted living, as well as what to consider before adopting a pet into an assisted living community. For more information: Assisted Living for Seniors with Pets

Perfectly Imperfect: Home Modifications for Disabled Pets
Life with a disabled pet can be challenging. The responsibilities of frequent vet visits, daily medications, and special nutrition can be demanding even for the most dedicated and attentive pet parent. But the joys of caring for a dog or cat with special needs are plentiful, and the work is rewarding.
https://www.homeadvisor.com/r/home-modifications-for-disabled-pets/

Handicapped pug dog with wheels
Bringing a Cat into Your Family
Check out this quick list of important tips for bringing home a new kitty!
https://www.grove.co/welcome/cat-adoption-guide/
How to Pet Proof Your Home
Keep your pets—and your possessions—safe.
Before you bring a cat or dog into your home, it’s wise to pet proof your space. The Automobile Club of America offers some sound advice.


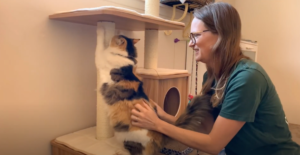
Teaching Cats to Scratch Appropriately
Click on picture to view video:
1. Provide Appropriate Cat Scratchers:
-Cats need places to scratch which is why they will choose your furniture and other places to scratch if you don’t provide alternatives.
-You want to have a variety of scratchers; ones they can sit on and scratch, along with ones they can reach up and stretch and scratch. Cats enjoy reaching up high and extending their entire body while scratching like some wild cats would do on tree trunks.
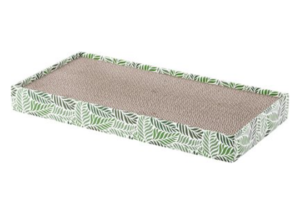
Here is a Floor Scratcher – Click Picture to Purchase:
Here is a Scratching Post (We encourage you to get a very tall cat tree which would include a scratching post.) – Click Picture to Purchase:

2. Prevent Inappropriate Scratching:
-If cats are still scratching furniture, you can use packing tape or even double-sided tape on the areas they are scratching. They do not like the feeling of it and will avoid it.
-You can also try just covering that area with a blanket. Eventually they will learn and you can remove the tape and blankets.
3. Move Scratchers:
-If you notice your cat is scratching a particular area of the couch or furniture, move your scratchers close to that area.
4. Redirect and Reward:
-If you have moved the scratcher to a “problem area” and you catch your cat scratching the furniture and not the scratcher; simply, gently, and without reprimanding your cat, remove your cat from that problem area and place them on the appropriate scratcher. Reward them verbally or give them treats whether they begin scratching the appropriate scratcher or not. You are simply redirecting that behavior to the appropriate place and rewarding them. They will begin to pair that scratcher with things they love like treats, verbal praise, and pets.
5. Encourage Scratching:
-Use toys like a wand/string toy around the scratchers so they have to jump on them or near them. Cats will generally enjoy scratching when they are a bit riled up and feeling playful. They may even feel the scratcher under their paws and immediately begin scratching on their own.
-Encourage scratching by adding dry cat nip or even cat nip spray. You can also manually scratch the post with your fingers as cats like the sound. Never force their paws to scratch as that may deter them from using it.
-Remember to always reward appropriate or desired behavior and IGNORE undesired or inappropriate behavior. Simply redirect and reward!
NEVER DECLAW YOUR CATS!
Cats can easily learn to scratch appropriately when given the right tools and encouragement. Declawing cats is NEVER the answer. Declawing cats is cruel, inhumane, and extremely painful. It is not just removing the claws, it is actually the amputation of the first joint on each toe. It can cause them lifelong pain and result in severe behavior issues. Cats are “toe walkers” and declawing them is altering their natural physiology. Cats use their paws to communicate if they do not like something and if they cannot use their paws, they are more likely to bite. Many declawed cats resort to biting and other hugely problematic behaviors since they cannot use their paws to communicate. Using the litterbox can be painful: cats who are declawed are more likely to have litterbox issues i.e. going outside the box because it’s painful to scratch the litter.
Click to watch this video on why declawing is horrendous for cats:

Litter Box Training Tips and Tricks
Click on pictures to view videos:
Most cats will just automatically use the litter box after being shown where it is, but some cats may have issues. Kittens in particular might need extra training while cats who have suffered some sort of trauma or perhaps lived outside their whole lives may need some support. Here are some basic tips and tricks!
Most Important:
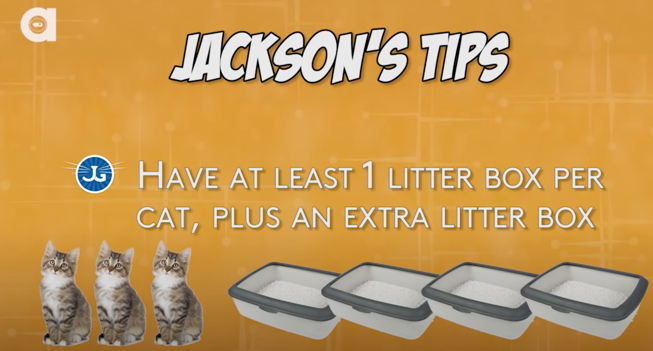
*At LEAST one litter box per cat. If you have 3 cats, you should have at LEAST 3 boxes. Most experts say that having an extra litter box is key to curb any competitive or disruptive behaviors. Therefore if you have 1 cat, 2 boxes are best; 2 cats, have 3 boxes, etc.
*You have to clean or scoop the boxes every day! Cats are inherently clean animals and are averse to dirty litter boxes. If the boxes are not clean, they will look elsewhere. You should be emptying the litter box completely, washing the box out, and replacing with fresh litter every week.
*Make sure their food and water is as far away as possible from their litter box. No one wants to poop where they eat and cats are very particular about this.
Reasons Why Cats Don’t Use the Litterbox:
If your cat is not using the litter box, it is either behavioral or medical. Typically cats will not use the box in order to communicate something to you. If you are certain there is nothing medically wrong with your cat, then a behavior issue must be present. But it’s okay and actually recommended to verify with your vet that nothing medically is wrong with your cat. Some concerns would be kidney issues, urinary tract issues, or other medical ailments. Rule medical issues out first before proceeding.
Things to Note:
*Litter Type: Your cat may want a different texture. Use a natural, unscented litter; there are many options for you and giving your cat options in the beginning is key. Please note that scented litter can cause cats to be repelled by the perfume’s odor. A cat also needs to be able to locate the litter box by his or her own scent. If he/she can’t smell it, chances are he/she won’t find it. Once you find what they like, don’t change it. Be consistent. *Don’t use plastic liners.
*Litter Box Type: Some cats prefer a non-covered litter box while some prefer a covered one. Statistically cats prefer a box that is NOT covered as they want to be able to see their surroundings when they are in a vulnerable position. The box should be large enough for a cat to completely turn around. Covered boxes may prevent full range of motion and also may lock in the smell which may further deter your cat from using it. You can try both and see what they prefer. Automatic ones are not the best idea; they can scare cats away and might deter them from using it.
*Location: Some cats want a box in a location that is open and where they can see from all angles as they are going. Some cats want a more private location. That is why having a couple boxes in different areas is key. You can see where they prefer and then reduce the boxes if necessary. The location of the box should be a low trafficked area that is quiet and calm for them. For example, next to a washer or dryer is not great as they are noisy.
Reward and Never Scold:
When training a cat to use the litter box never punish or scold him/her while they are in the litter box; this will almost certainly create a negative association with the box itself. If your cat makes mistakes, pick them up and place them in the litter box. They will make the connection soon enough. It also helps to praise them when they successfully use the box and also reward using something they love like treats.
Some “Out of the Box” Tips
*If you have a cat that was used to going potty outside, you may try filling a box with fresh dirt. Make sure it doesn’t contain any harmful chemicals or fertilizer. You can gradually begin to mix your litter with the dirt, increasing the litter and decreasing the dirt over time.
*If you notice a specific place your cat is urinating or defecating, move the box to that location.
*Feed your cat where he/she is urinating/defecating, because many cats will not do both in the same place.
*2 inches is usually the right amount of litter to use but maybe try more or try less.
*You can try an empty litter box, a box filled with scraps of paper, or other items your cat may be using instead of regular litter. Then try to gradually switch them over to regular kitty litter.
*If you have a kitten or senior kitty, make sure the sides of the box are not too high for them to comfortably get in and out of.
*Many cats will need to eliminate after some playing. Play with your cat near the box and then encourage them to use it. You can also use your own finger to dig in the litter to show them how it’s done. Never force their paw to scratch the litter; we don’t want any negative associations with the boxes.
*Don’t use sprays, air fresheners, or deodorizers; it can make cats avoid the boxes. Just keep them clean and they will not smell!
Here are some basic litter box types – Click picture to purchase:

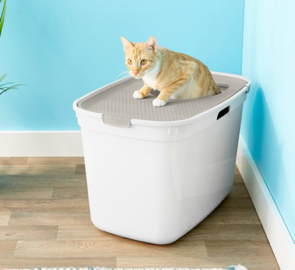

www.chewy.com has some amazing options!
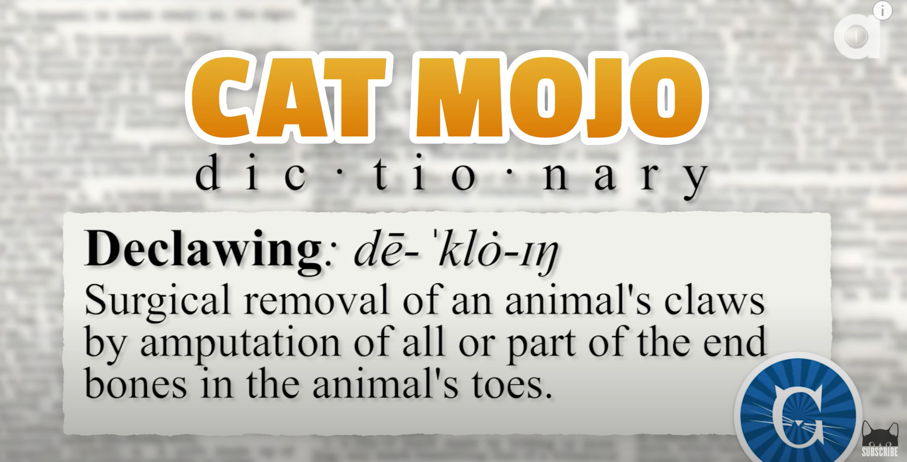
SPECIAL NOTE: There are many reasons why declawing your cat is cruel, painful, and will cause lifelong issues. One reason is that it can cause a cat to not use a litter box because scratching or digging can be very painful.
Click picture to view video on declawing:
Introducing Cats – Step by Step Process
Click on picture to view video:
*There is a myth that cats are solitary animals and don’t want feline companions-that is simply untrue. Cats live in colonies for a reason; they love their friends and family!
1. Get “Base Camp” ready.
Have a room ready for your new cat. They will need food, water, and litter boxes along with appropriate hide places, toys, a cat tree, treats, bedding, etc. Use the blanket given to you by us at adoption which will smell like your new kitty.
Here is a video on how to set up Base Camp for your new kitty.
Click on picture to view:

Here is a video on setting up a room for a shy or fearful cat-
Click on picture to view:

2. Start New Kitty in “Base Camp”
The new kitty should be in Base Camp to start. Once they are comfortable and confident in this room, meaning they come out right away and seem to want to see what is on the other side of the door, you can move onto the next stage. But if they are hiding, creeping around and seem uneasy, they are not yet ready. It’s important to socialize your new kitty properly while in their Base Camp.
You can check out our YouTube videos on socializing shy cats here –
Click picture to view:
3. “Site Swapping”
When they are ready and confident in Base Camp, you do what is called “Site Swapping”; which means you take your resident kitty and put them into Base Camp. Allow your new kitty to explore a new part of the house, hopefully a place your resident kitty loves. This should be another room and not the whole house as that may be too much space all at once. Allow them each to explore the new territory. Play with each cat as they explore, reward them with treats, and pair anything they like or enjoy with the new spaces. This can be for just 20 minutes a day or even less; the amount of time depends on the new cat’s level of comfort. You continue to do this as your new cat explores a different room each time.
*IMPORTANT: The cats should not physically see each other while you swap spaces. This may mean you need to put your resident kitty in the bathroom for a minute while you place the new cat in an unknown area, and then put your resident kitty in Base Camp.
*If either cat shows any signs of aggression or fear, end the site swapping and put them back in their designated spaces. They may not be ready for this stage just yet.
*If all goes well, you want to do this “Site Swapping” several times over a few days if needed.
*Some cats may be ready within a couple hours and some may need more time-days, weeks, etc. Just be aware of your new cat’s behaviors and comfortableness in new places.
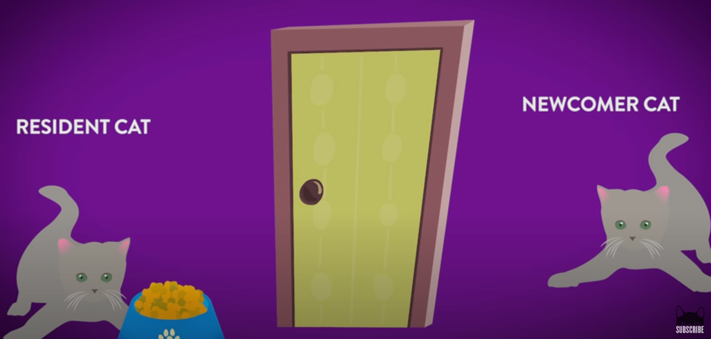
4. Start Feeding
Next step is to start feeding the cats (breakfast and dinner) near the door or “barrier”-your resident cat will be on the opposite side of the room. You need to see where your new cat is comfortable enough to fully eat their meal. That may be 10 feet away from the door or closer or further. The cat needs to walk to the bowl comfortably and not feel any fear. That same distance should be given to your resident cat. So if your new cat feels comfortable eating 7 feet away from the door, you will place your resident cat’s bowl 7 feet away as well. With every meal you will move the bowls closer. This is pairing mealtime and a very positive and rewarding experience with the other cat.
5. Introduce Visuals
Once they are about a foot apart from the door and with the door still closed, it’s time to introduce some visuals. You can put up a screen door or some baby gates. You can stack two baby gates on top of each other; you want something high enough to where cats cannot jump over them.
6. Drape a Blanket or Sheet
First step is draping a blanket or sheet over the gates and start the feeding ritual again. Place the bowls farther away again and start slowly raising that sheet or blanket with every meal and seeing if you can move the bowls closer together. All of this “gate/screen door” work should revolve around mealtimes, NOT just the cats hanging out. Once they get comfortable eating while being able to fully see each other without the blanket or sheet present, it’s time to remove the barrier.
7. Remove the Barrier
You begin feeding them and while they are eating, you remove the physical barrier, the gates, or screen door. You may need to engage one in play or something they really like if eating their meal is not engaging them. You do this “no barrier” interaction in short sessions at first.
*IMPORTANT: Always end on a positive note. Once you see one cat acting fearful or lacking confidence, you end the session and close the door. You will do the same thing at their next meal and try again.
8. Extend the Physical Interaction
Keep extending that physical interaction each feeding time; maybe it starts with just 5 minutes, then 10, 20, etc.
9. Prevent Aggression or Fighting
You always want to prevent any aggression or fighting. Start with small, short sessions and take your time. A physical fight or any negative interaction can possibly set them back.
Here is another video about introducing cats: